WPC Fence Installation Guide for the Philippines: Step-by-Step Instructions
Introduction
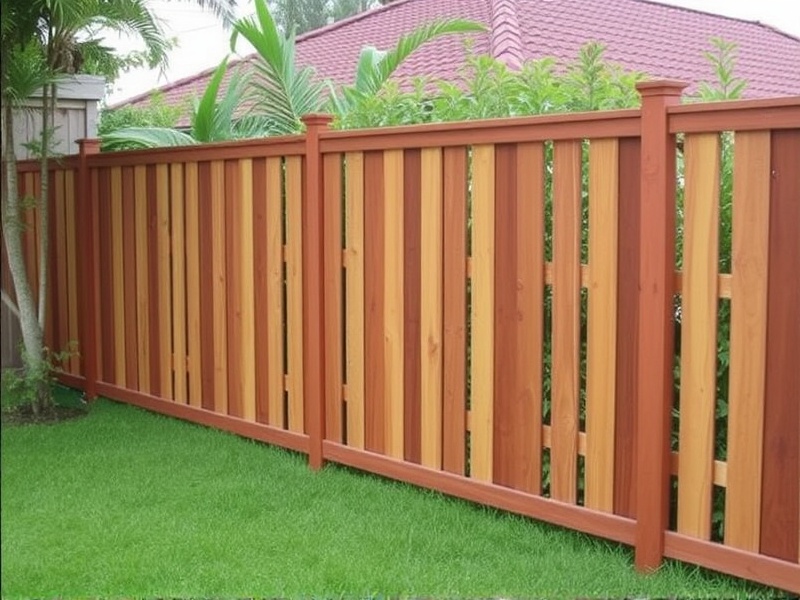
Welcome to this comprehensive guide on installing a WPC (Wood Plastic Composite) fence in the Philippines. This eco-friendly alternative to traditional wood fencing is gaining popularity due to its durability and low maintenance requirements. Whether you’re looking to enhance your property’s security or simply add an aesthetic touch, a WPC fence can be a great choice. In this article, we will walk you through the entire process of installing a WPC fence, from preparation to the finishing touches, providing helpful tips along the way.
Preparation Phase
The first step in installing a WPC fence is thorough preparation. This includes site assessment, material selection, and planning. Start by measuring the area where you plan to install the fence to determine how much material you’ll need. It’s also crucial to consider local building codes and regulations, as they may affect the height and design of your fence. Check with your local government office for specific guidelines.
Ensure that the ground is level and free of debris before starting. You might need to clear vegetation, remove rocks, and even fill in low spots to create a smooth surface. Additionally, consider the soil type in your area. The Philippines has diverse soil conditions, ranging from sandy to clay-rich soils, which can impact the stability of your fence posts. Using concrete to secure the posts is recommended for added stability.
Assembly Phase
Once the groundwork is done, it’s time to start assembling the fence. Begin by marking out the fence lines using stakes and string. This will help ensure that your fence is straight and evenly spaced. Next, dig holes for the posts, making sure they are deep enough—typically around ⅓ the height of the post—to provide sufficient support. Place the posts in the holes and use temporary braces to hold them upright while you pour concrete into the holes.
After the concrete has set, attach the horizontal rails to the posts. Ensure these are level and securely fastened. Then, slide the WPC panels into place, securing them with screws or clips provided by the manufacturer. Pay close attention to the spacing between panels to maintain a consistent look throughout the fence. For additional security, consider adding anti-climb features like pointed caps on top of the posts.
Finishing Touches
The final phase involves adding the finishing touches to your new WPC fence. Clean the fence thoroughly to remove any dirt or debris that may have accumulated during installation. Inspect all connections to ensure they are tight and secure. Apply a sealant or paint if desired to protect the fence from the elements and enhance its appearance. Regular cleaning and occasional reapplication of sealant can significantly extend the life of your fence.
To keep your WPC fence looking its best, establish a routine maintenance schedule. This should include periodic inspections for loose screws or damaged panels. Promptly address any issues to prevent further damage. Additionally, trimming nearby plants and trees can help reduce the risk of branches rubbing against the fence, which could lead to wear over time.
Helpful Tips
- Choose high-quality materials to ensure longevity and resistance to weathering.
- Consult with professionals if you encounter any challenges during installation.
- Consider the climate in the Philippines when selecting sealants and paints.
Reference
EPA Safer Choice: Learn more about environmentally friendly products and practices.
Reviews
There are no reviews yet.